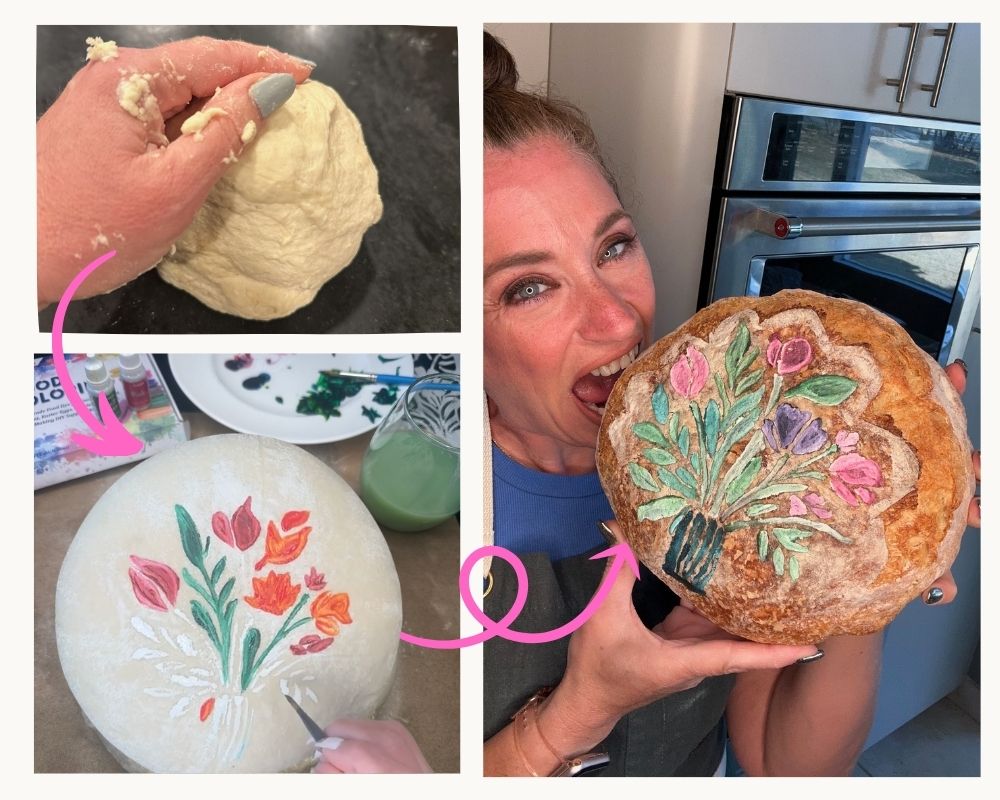

Easy to Make. Fun to Paint. Delicious to Share.

Serve something unforgettable – a one-of-a-kind painted “bouquet” baked right into warm, homemade bread.
Surprise someone you love with a delicious gift that feels personal, unique, and heartfelt. Why bring flowers when you can bring bread?
A creative escape, a new tradition – bring joy and artistry into your kitchen. No baking or painting experience needed!
Painting bread is so much fun!
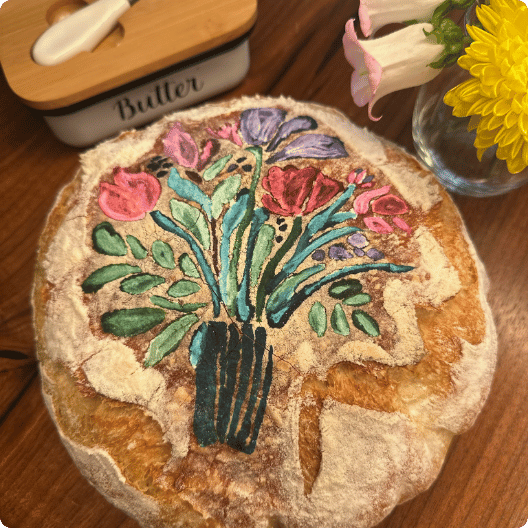
I can teach anyone how to make this exact bread.

Painting and baking is my happy place.
Hi, I’m Sharon!
I’ve always loved baking — especially as a way to share something delicious and personal with friends and family.
I also love painting. In fact, painting and baking is my happy place.
One day, I was thumbing through Instagram and saw a video of a woman painting art onto bread. It was absolutely gorgeous!
And it seemed like it would be simple.
So I grabbed some food coloring, mixed up my favorite dough, and created my first painted bread.
It went… OK.
The bread tasted good, but looked kind of ‘meh’. The colors faded. The surface wasn’t smooth. The design itself didn’t look so great. It just didn’t come to life the way I wanted.
I ended up throwing it away. But I had an inkling of what I did wrong. So I kept experimenting.
And after a lot of trial and error, I figured out a foolproof method to get smooth surfaces, vibrant colors and beautiful results.
I began to create all sorts of different designs. Lions, birds, koi ponds, floral arrangements… even breads themed like famous paintings.
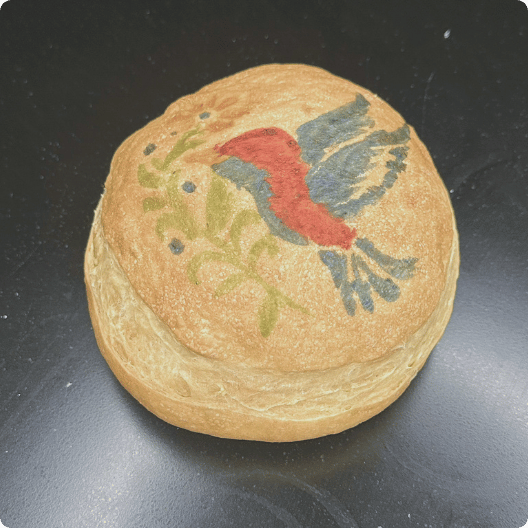
My very first attempt was… ‘meh’.
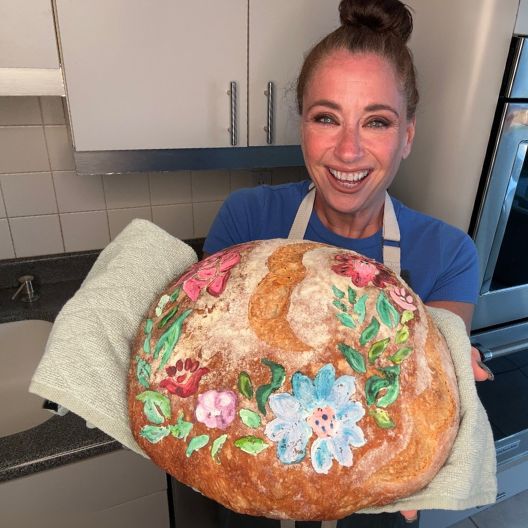
I can show you how to make this even if you’ve never baked bread before and the last time you painted was in 1st grade!
The first time I served one of my ‘artful breads’, at a dinner party, my guests’ jaws dropped.
They almost refused to slice it up and eat it. “It belongs in a museum!”
My friends LOVED my artful breads. So I started giving them as gifts. A few asked if I could teach them how to make artful bread themselves.
And I realized… my method totally works even if you’ve never baked bread before. Even if you haven’t painted since you were a kid.
Anybody can make delicious and beautiful ‘artful bread’.
When I first tried painting bread, I knew it would be fun. I thought it would be simple.
Really, what’s so complicated? Mix some dough, add a little color, stick it in the oven, and end up with something beautiful.
But what I’ve learned is that bread doesn’t always behave the way you hope.
As I continued to experiment, what came out of the oven… wasn’t quite what I had in mind.
- The surface might crack or dry out — making it hard to paint cleanly.
- The colors sometimes would run or distort — so what had looked vibrant becomes a mess after baking.
- The bread sometimes split, which can ruin the design — stretching or warping the design you worked so hard to create.
- I had to figure out what actually worked, little by little — how to best prep the dough, when to paint, how much color to use, how to fix little mistakes, and on and on.
All I wanted was a moment of creativity and relaxation. Not frustration.
But now I’ve done the hard part and figured out all the little steps and nuances.
With just a little guidance, you can create something truly beautiful — and actually enjoy the process along the way. Even if you’ve never successfully baked bread before.
It’s why I created Bread Bouquet. To help anyone turn simple ingredients and some food-safe colors into something joyful, relaxing, and satisfyingly beautiful.
And you don’t even need to know how to bake bread or paint.
Introducing…

Learn my simple, foolproof, step-by-step process to bake and paint a stunning, edible bouquet on real artisan bread — even if you’ve never made bread or painted before.
Here’s What You Get…

My Foolproof Method to Create a Beautiful Bread Bouquet
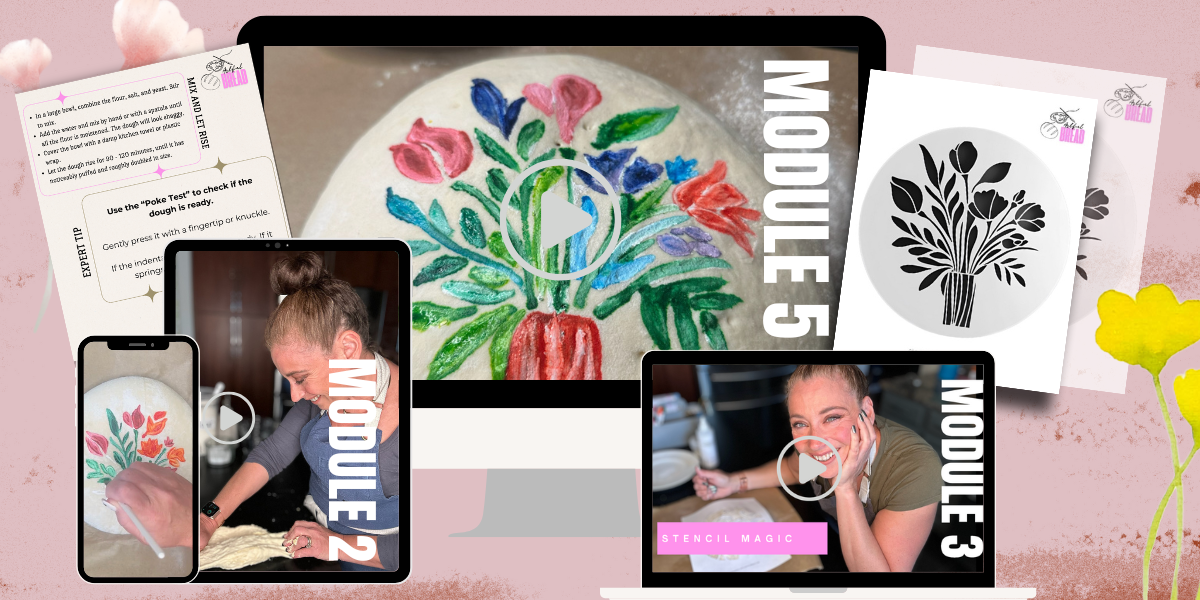
7 short, step-by-step video lessons to watch at your convenience. Makes this easy, even with no experience.

My No-Fail, Delicious, Simple Bread Recipe
So much healthier than anything you can buy in a store. And you probably already have the ingredients.

A Printable Floral Stencil You Can Use Again and Again
Removes the artistic guesswork, but still leaves lots of room for creativity. Bring your own style and personality!
My Foolproof Method to Create a Beautiful Bread Bouquet
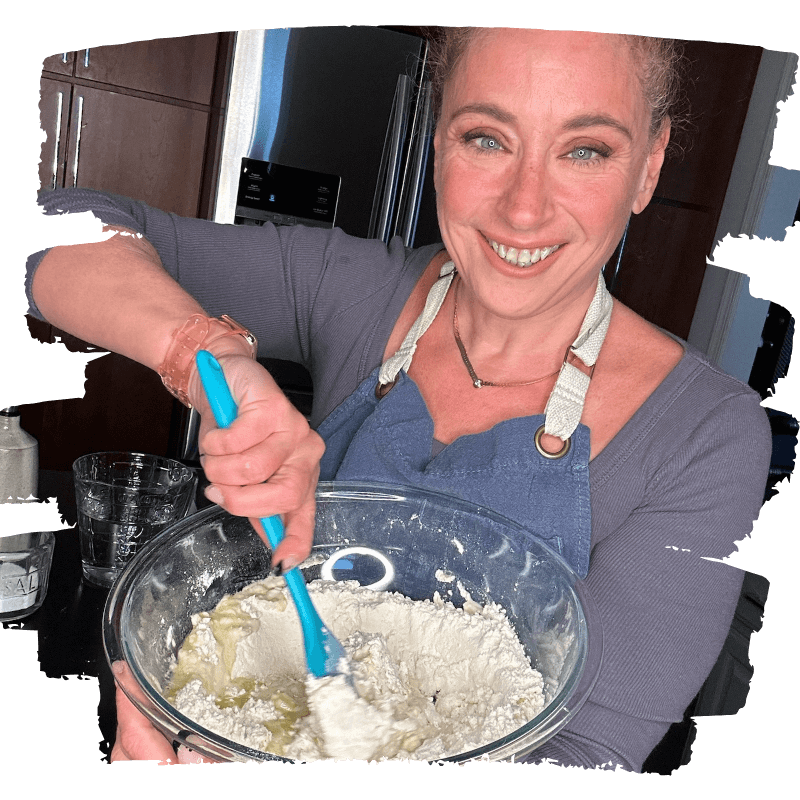
Lesson 1
Make Your Dough, Build Your Confidence
Mix a perfect dough with just four simple (and healthy) ingredients — no fancy tools or experience needed.
- Sticky, messy dough? That’s actually what you want.
- No kneading required – and it’s perfect for painting.
- This recipe is so forgiving, it’s almost impossible to mess up.
Lesson 2
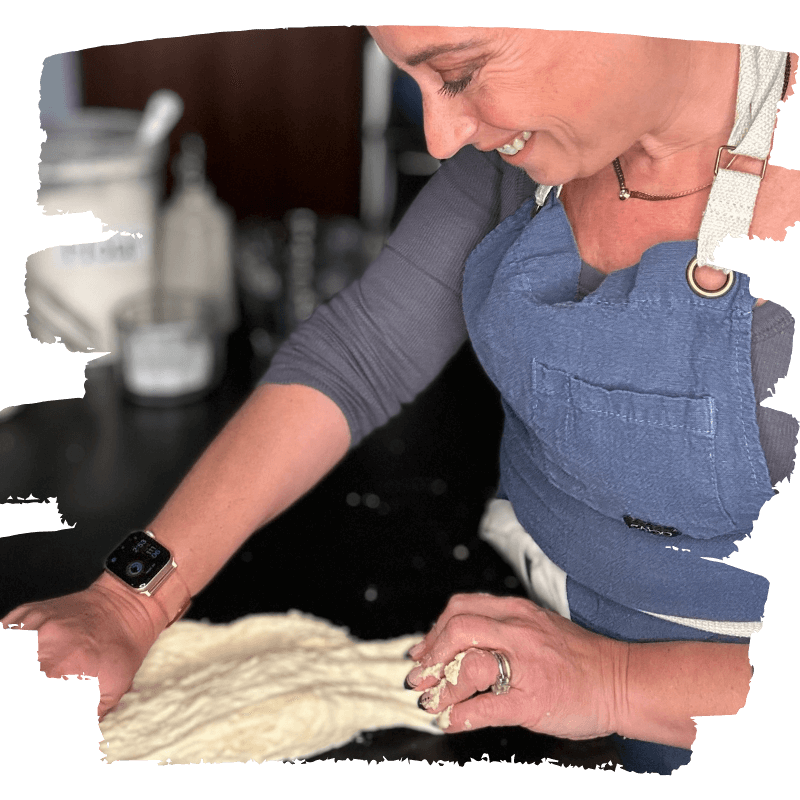
Shaping and Prepping the Perfect Painting Surface
A beautiful bread bouquet requires a smooth, strong dough “canvas”.
- Shape your dough the right way in under five minutes — even if it feels messy at first.
- Master the chill technique that keeps your surface moist, smooth, and paint-ready.
- Learn what to do if your dough stretches too much or loses tension.
Lesson 3
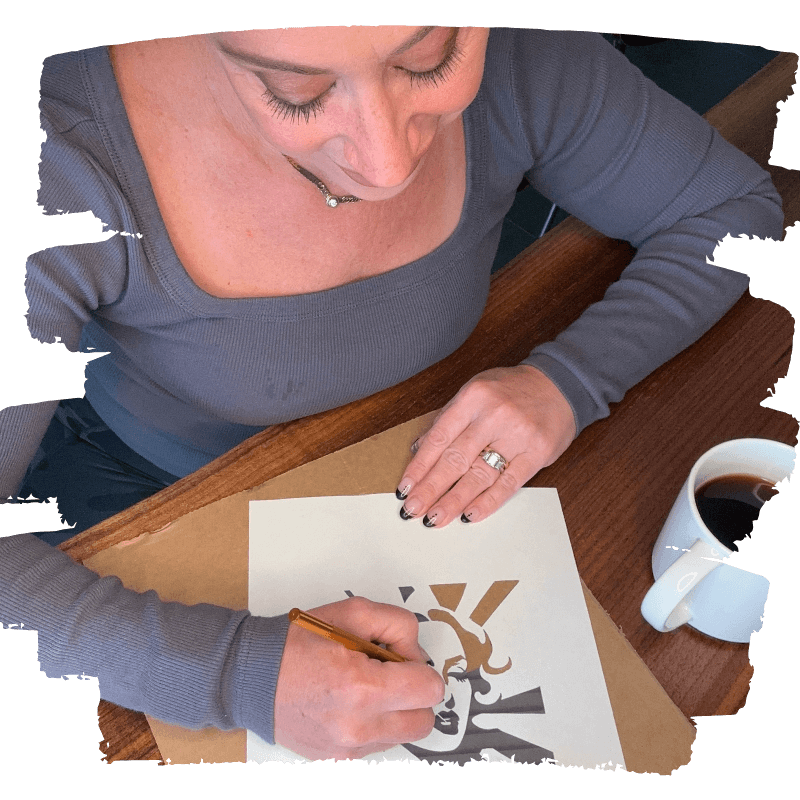
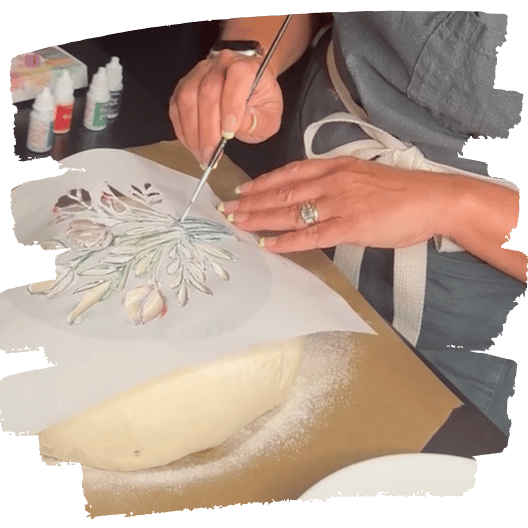
If You Can Trace a Line, You Can Paint This Bread
You’ll learn how to use one of my absolutely favorite floral bread design stencils. (And yes, I’m going to give you the stencil to download!)
- Build a “dough guide” so clear, painting becomes almost automatic.
- Place your stencil with no slipping or tearing.
- Learn my trick to tracing with clarity and control.
Lesson 4
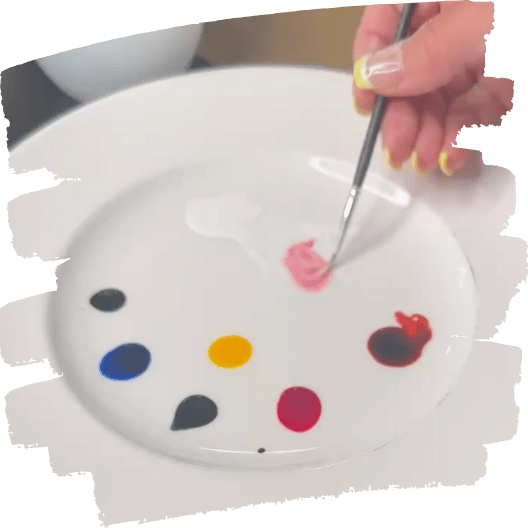
Getting Your Colors Just Right
Get the color just right – before your brush ever touches the dough.
- Mix, test, and set up your color “palette” the easy way — even if all the colors look dark at first.
- Adjust the texture of your colors right on the palette — no extra ingredients needed.
- Learn a simple testing trick that makes it easy to see exactly what you’re painting.
Lesson 5
It’s Painting Time!
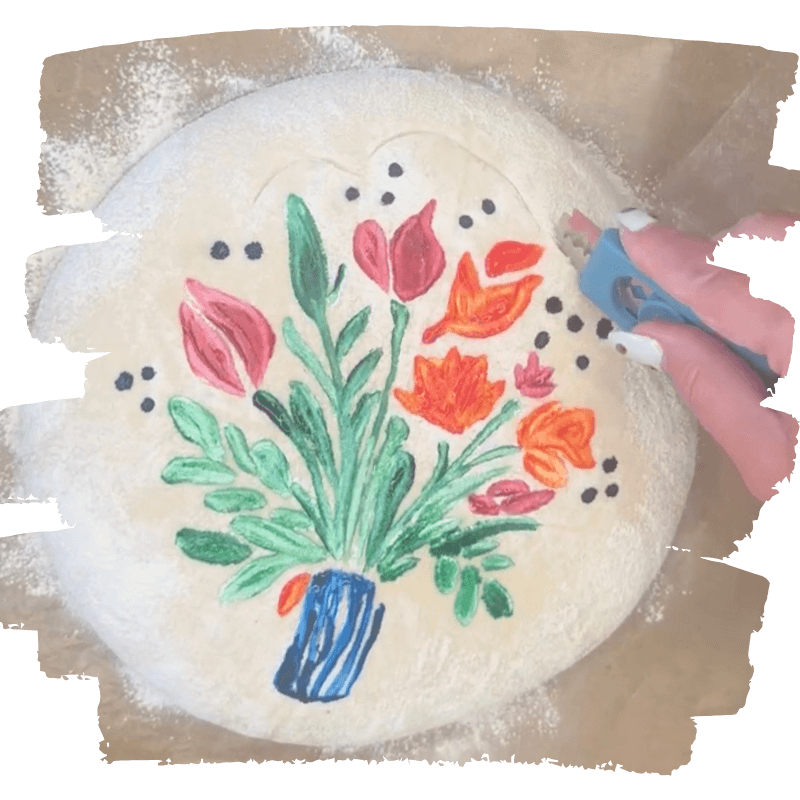
Here is where you’ll bring your creation to life. Bring your full creativity!
- Fill in your flowers with rich colors, soft details, and beautiful dimension.
- Learn the little tricks to fixing little mistakes easily, without starting over or getting stuck.
- Turn your traced outline into a colorful, blooming masterpiece — one brushstroke at a time.
Lesson 6
Adding Dimension to Your Design
This is where you’ll take your bread to the next level, before it even enters the oven.
- Learn a simple technique to “scoring” your bread so your bouquet rises without distortion.
- Protect your painted surface with a simple prep step you’ll do before ever picking up your tools.
- Add artisan-style flourishes — like an optional “ear” — if you want extra flair.
Lesson 7
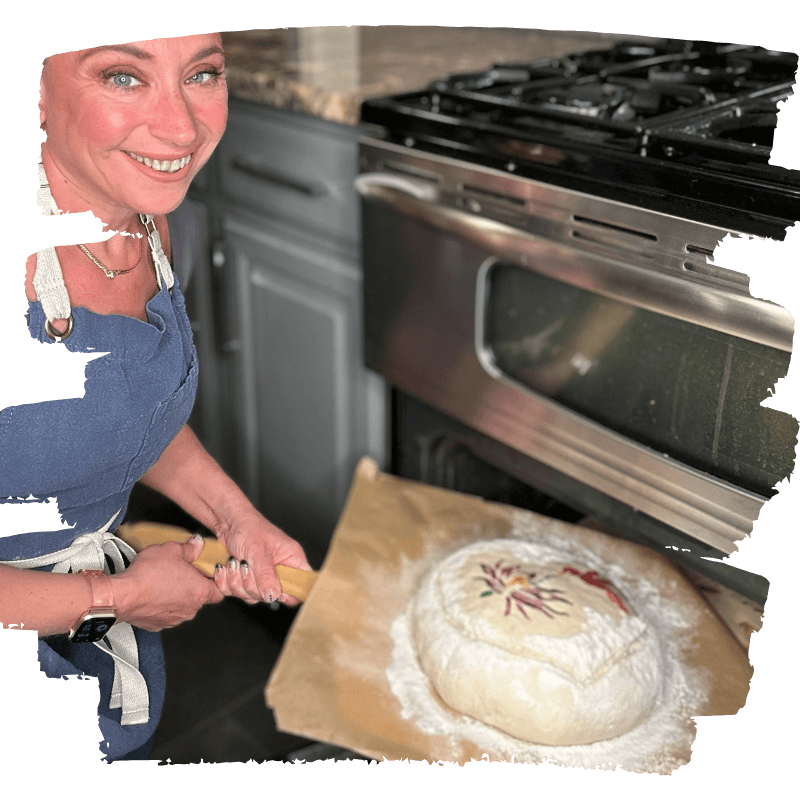
The Secret to Baking With a Beautiful Finish
Lock in color, rise, and beauty — without cracks or dullness.
- Get bakery-quality results no matter what kind of kitchen equipment you have.
- Understand how getting the humidity level just right shapes the crust — and protects your painted design.
- Know exactly when to uncover your bread for a perfect, vibrant finish.
The Workshop Price Will Eventually Be…
$97
Since this is the first time I’m offering this workshop, I’m giving early access at a discounted price as a thank-you for being one of the first to join.
Nothing’s missing. You’ll get the full experience — everything I’ve poured into this to make it truly valuable. And if you’re open to sharing a bit of feedback afterward, I’d love to hear what you think.
Once the early access period ends, the price goes up to $97. But for now, you’re getting the same rich, complete workshop. Just at a lower price.
One-time payment, lifetime access.
🔒 100% Secure Checkout | PayPal, Visa, Mastercard, Amex
Our 30-Day Happiness Guarantee

We want you to feel totally confident saying yes.
If for any reason the workshop isn’t right for you, just reach out within 30 days and we’ll give you a full refund — no guilt, no weirdness.
Did somebody say BONUSES?
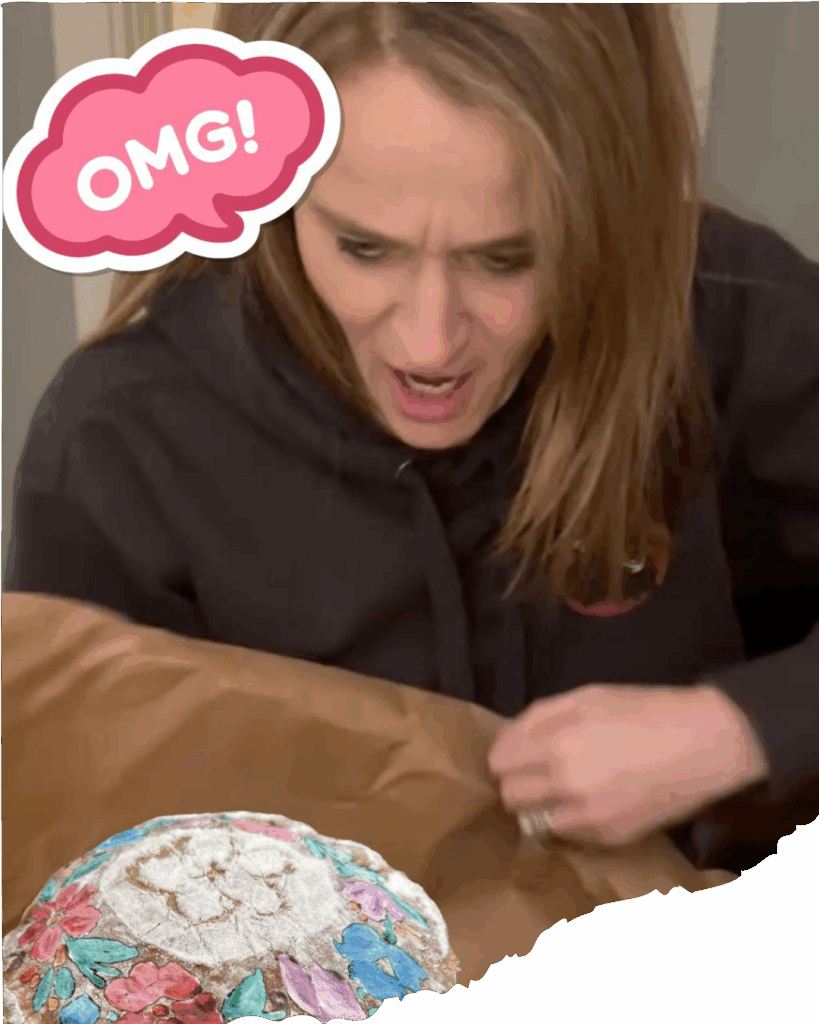

The “WOW” Gifting Method for Your Bread Bouquet
Give it. Share it.
Or savor it yourself — with pride.
- Wrap your bread beautifully for gifting — no crafting skills needed.
- Present your Bread Bouquet creatively for maximum “Wow!” moments.
- Baking your bread in advance? No problem! Learn how to keep your bread bouquet fresh and delicious.
Plus, An Exclusive Fast-Action Bonus
(First 30 Minutes Only!)

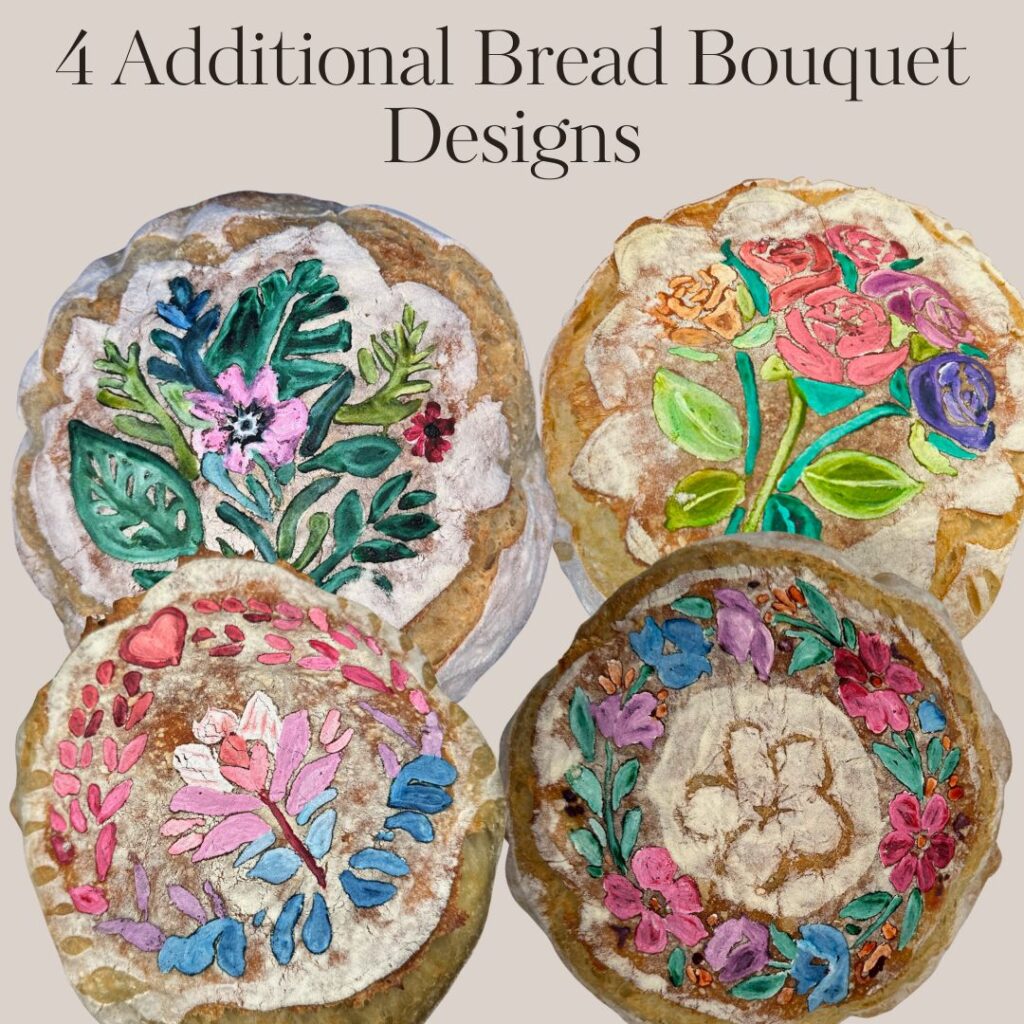
Bonus Floral Template Pack
Get 4 additional floral templates to spark even more creativity.
- Delicate blooms. Leafy vines. Intricate buds.
- Perfect for crafting a Bread Bouquet that’s uniquely yours.
- Use these templates as many times as you want!

Yep! For Just $97 $47 You Get…
7 Step-by-Step Video Lessons
✅ Make Your Dough, Build Your Confidence
✅ Shaping and Prepping the Perfect Surface
✅ If You Can Trace a Line, You Can Paint This Bread
✅ Getting Your Colors Just Right
✅ It’s Painting Time!
✅ Adding Dimension to Your Design
✅ The Secret to Baking With a Beautiful Finish
All of the Resources You’ll Need
✅ My delicious (and easy) 4-ingredient bread recipe that creates a perfect canvas
✅ A printable stencil that makes the design so simple, you don’t have to be an artist
PLUS BONUSES!
✅ BONUS #1: The “WOW Gifting Method” for Your Bread Bouquet
✅ BONUS #2 (FAST ACTION): 4 extra floral templates for even more design options
- Lesson 1: Make Your Dough, Build Your Confidence
- Lesson 2: Shaping and Prepping the Perfect Surface
- Lesson 3: If You Can Trace a Line, You Can Paint This Bread
- Lesson 4: Getting Your Colors Just Right
- Lesson 5: It’s Painting Time!
- Lesson 6: Adding Dimention to Your Design
- Lesson 7: The Secret to Baking With a Beautiful Finish
- My delicious (and easy) 4-ingredient bread recipe that creates a perfect canvas
- A printable stencil that makes the design so simple, you don’t have to be an artist
- BONUS #1: THE “WOW” Gifting Method for Your Bread Bouquet
- BONUS #2 (FAST ACTION): 4 extra floral templates for even more design options
Have Questions?
I’m not great at baking (or at least not great at baking bread). Will I still be able to do this?
Absolutely. Bread Bouquet was designed for beginners — no baking (or painting) experience needed. With a few simple ingredients, as long as you can trace and paint with a brush, you can create something beautiful and delicious.
Do I need special equipment or hard-to-find ingredients?
How long does it take to make the bread?
What if I’m busy right now? Can I start later?
What if I decide it’s not for me?
We offer a 30-Day Guarantee. If Bread Bouquet doesn’t bring you joy, just reach out within 30 days and we’ll give you a full refund, no questions asked.
Only $47 – one-time payment, lifetime access
🔒 100% Secure Checkout | PayPal, Visa, Mastercard, Amex
Our 30-Day Happiness Guarantee

We want you to feel totally confident saying yes.
If for any reason the workshop isn’t right for you, just reach out within 30 days and we’ll give you a full refund — no guilt, no weirdness.
One email to support@artfulbread.com.
All your money back. No questions asked.
Copyright 2025 Artful Bread
